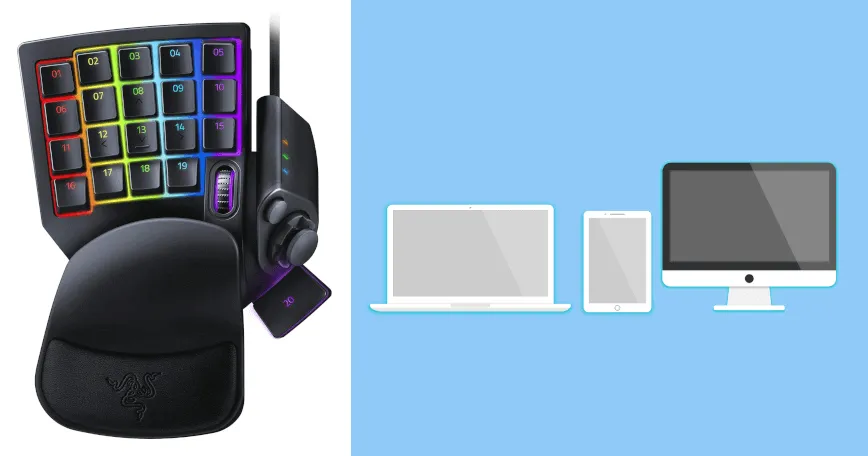
Using Razer's Left-Hand Keyboard "Tartarus" Series on macOS
This guide explains how to make full use of Razer's high-performance gaming left-hand keyboard, the "Tartarus" series, on macOS.
Modified at: 2025.6.20Posted at: 2024.11.26
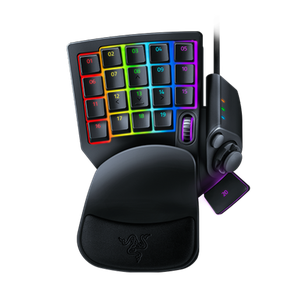
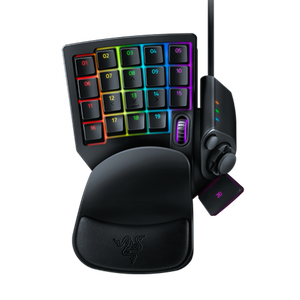
Historical Models of the Tartarus Series
| Model | Release Year | Switch Type | Features |
|---|---|---|---|
| Tartarus | 2013 | Membrane | Successor to the Razer Nostromo. |
| Tartarus V2 | 2017 | Mecha-Membrane | Increased key count, Chroma support. |
| Tartarus Pro | 2019 | Analog Optical | Adjustable actuation point. |
Among these, the current models are “Tartarus V2” and “Tartarus Pro.”
Razer Synapse and macOS Compatibility
When using Tartarus on macOS, the key point is which version of the management software "Razer Synapse" is supported.
Although a macOS version of Razer Synapse was announced in 2025, unfortunately, the Tartarus series is not supported1.
Meanwhile, the older version, Razer Synapse 2, can be used on macOS, but it is limited to quite old OS versions: Mac OS X 10.10 to 10.14.
How to install Razer Synapse 2.0
While version 2.0 can technically be installed on the latest macOS, the device will not be recognized.
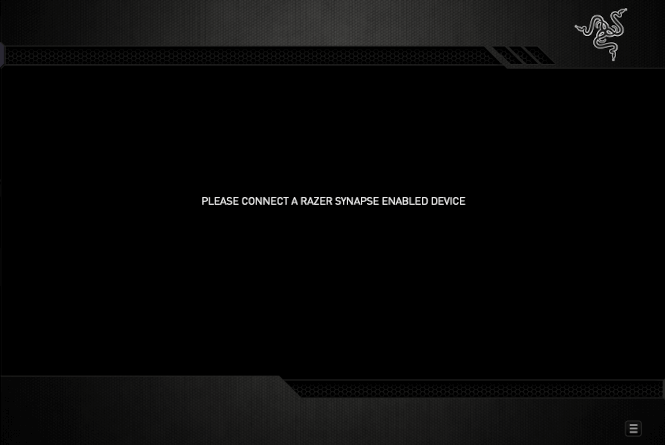
Therefore, to use Tartarus on macOS, the main requirement is to have "Mac OS X 10.10 - 10.14".
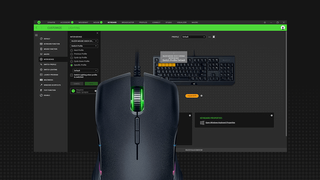
How to use and customize a Razer keyboard on macOS
Razer keyboards are popular for their comfort and build from a gamer's perspective. Since most gamers use Windows, there are some hurdles to using it on macOS.
Razer Synapse and Tartarus
The next important point is which Razer Synapse version each Tartarus device supports.
Since the current version, Razer Synapse 3, was released on April 26, 2019, only the Tartarus Pro from the table above requires Razer Synapse 3 or later.
This is likely the reason why some say "Tartarus Pro is not compatible with macOS".
In Fact, Any Tartarus Can Be Used on macOS
When you connect a Tartarus series device to macOS, the Keyboard Setup Assistant will launch to configure the keyboard.
At this stage, you choose between a US or Japanese layout, but regardless of your choice, the device is recognized as a "keyboard with only the leftmost five columns" of either the US or Japanese layout. Therefore, it is not true that "you cannot use Tartarus at all on macOS without Razer Synapse"[1]4.
However, since Tartarus is recognized as a "keyboard with only the left five columns," the displayed keys (01–20) do not function as labeled. For example, pressing key 15 will input "F".
As a result, the actual key assignments differ from the printed key labels, and the device functions as a "keyboard with only the left five columns." This is fine if you only need the WASD keys, but you cannot use the customizable keys or macros, which are strengths of the Tartarus series.
This is where the macOS key customization app "Karabiner Elements" comes to the rescue[1][2]3.
With Karabiner Elements, You Can Simulate Razer Synapse Functionality
Karabiner Elements is a free macOS application that allows you to customize various key inputs.
You can assign macOS shortcuts to keys like F1, or remap keys and shortcuts to keys that don't exist on macOS, such as print screen.
By using Karabiner Elements, you can assign the "left five columns of keys" on the Tartarus series and achieve functionality similar to Razer Synapse on macOS.
However, even with Karabiner Elements, the following features are not possible:
- Switching profiles with the hardware switch
- Customizing actuation points
- Adjusting Chroma lighting
For lighting adjustments, some customization is possible with freeware.
How to use and customize a Razer keyboard on macOS
Razer keyboards are popular for their comfort and build from a gamer's perspective. Since most gamers use Windows, there are some hurdles to using it on macOS.
Customizing Tartarus with Karabiner Elements
Let's actually customize Tartarus with Karabiner Elements. Here, we explain the process using Tartarus Pro recognized as a US keyboard on macOS.
Initial Key Recognition
Without any remapping in Karabiner Elements, macOS recognizes the keys as follows:
| Tartarus Key | Recognized Key |
|---|---|
| 01 | 1 |
| 02 | 2 |
| 03 | 3 |
| 04 | 4 |
| 05 | 5 |
| 06 | Tab |
| 07 | Q |
| 08 | W |
| 09 | E |
| 10 | R |
| 11 | Caps Lock |
| 12 | A |
| 13 | S |
| 14 | D |
| 15 | F |
| 16 | Left Shift |
| 17 | Z |
| 18 | X |
| 19 | C |
| 20 | Spacebar |
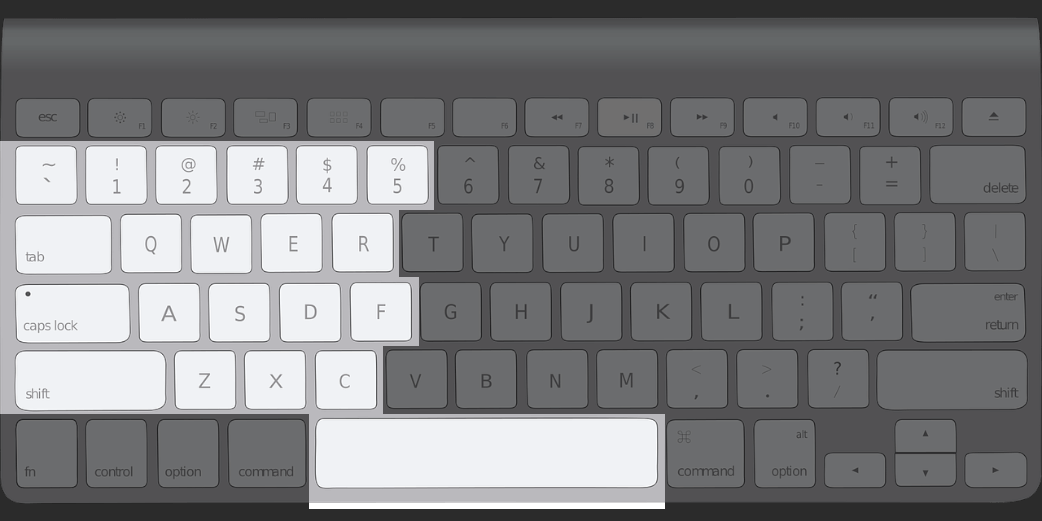
You can also check which keys are recognized using "Karabiner Event-Viewer," which comes with Karabiner Elements3.
Remapping Keys
Once you know the key assignments, you can remap them.
Open the Karabiner Elements app and:
- Click "Simple Modifications"
- Click "Razer Tartarus Pro"
- Click "Add item"
to add remapping rules.
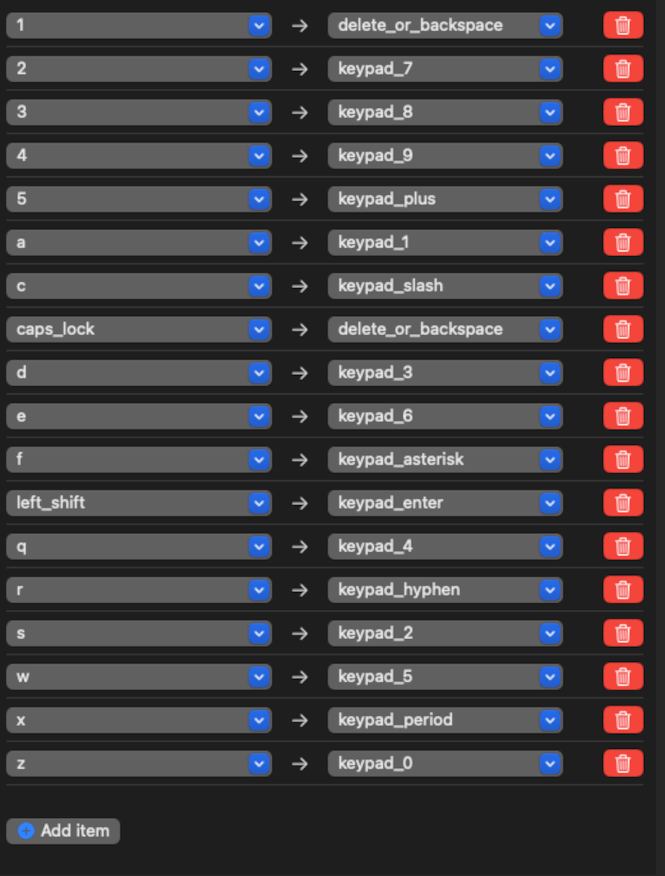
For example, the author remaps Tartarus Pro as a numeric keypad by default, resulting in the following remapping:
Notes on Remapping
One thing to note when remapping is that "once you remap a key, it can affect other remappings."
For example, on Tartarus, key 06 is recognized as "Tab," but if you remap key 06 to "Enter," and then assign "Tab" to another key, the remapping will take effect and that key will function as "Enter."
Therefore, when remapping the 20 keys recognized by macOS, you need to carefully consider the combinations.
Per-App Settings
Karabiner Elements also allows you to set remapping rules for each application.
For example, the author assigns key 19 as "keypad_slash" (numpad slash) by default, but only when using Firefox, it works as "Command + W."
Such settings can be made from "Complex Modifications," but require writing in a special JSON format.
Even for a simple assignment like "make key 19 Command + W only in Firefox," you need to write something like the following:
{
    "description": "[Firefox] keys remap",
    "manipulators": [
        {
            "conditions": [
                {
                    "bundle_identifiers": [
                        "^org.mozilla.firefox$"
                    ],
                    "type": "frontmost_application_if"
                },
                {
                    "identifiers": [
                        {
                            "description": "Razer Tartarus Pro",
                            "product_id": XXX,
                            "vendor_id": XXX
                        },
                        {
                            "description": "Razer",
                            "vendor_id": XXX2
                        },
                        {
                            "description": "Other Razer Devices",
                            "vendor_id": XXX
                        }
                    ],
                    "type": "device_if"
                }
            ],
            "from": { "key_code": "keypad_slash" },
            "to": [
                {
                    "key_code": "w",
                    "modifiers": ["left_command"]
                }
            ],
            "type": "basic"
        }
    ]
}
Once you get used to the format, it's not difficult, and you can check necessary values like vendor_id using Karabiner Event-Viewer.
By combining these settings, you can achieve macro-like functionality with Tartarus on macOS.